Leaking Tank Sender Unit
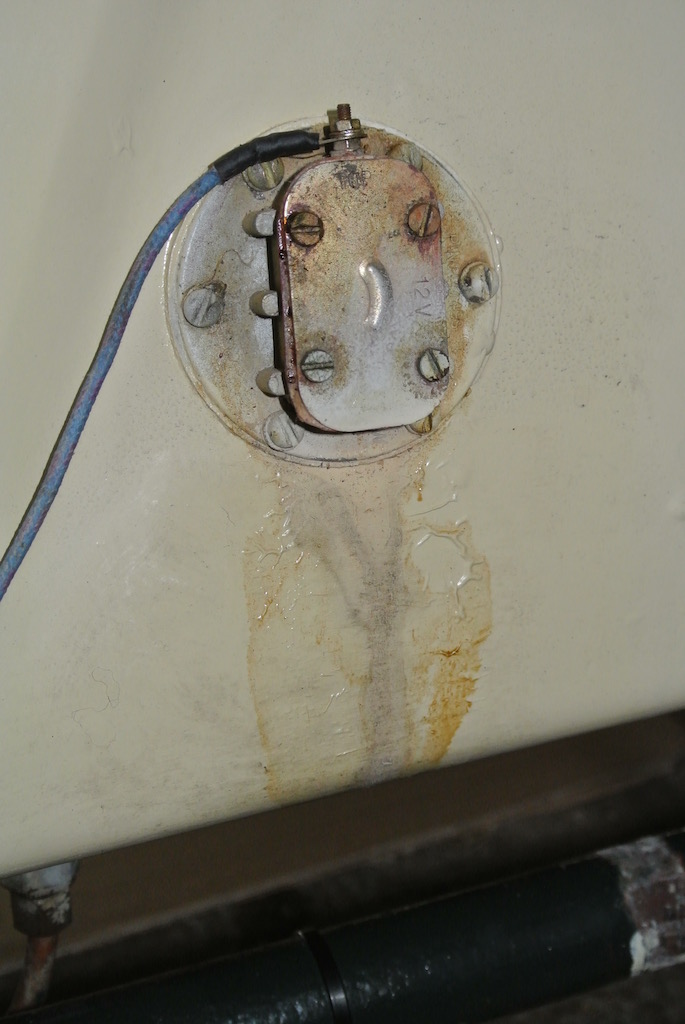 For a few weeks I'd noticed a stain below the sender unit near the bottom of the tank. It was clear that petrol was leaking from the unit, however, nearly two weeks ago I started smelling petrol when I was near the car. So, towards the end of July 2016, I removed the spare wheel carrier, syphoned enough of the petrol from the tank to bring the level well below the sender (leaving about one gallon in the tank), disconnected the battery and removed the unit from the tank. An article in the October 2013 issue of Totally T-Type on a leaking TD fuel tank sensor gave some background to the details of the unit.
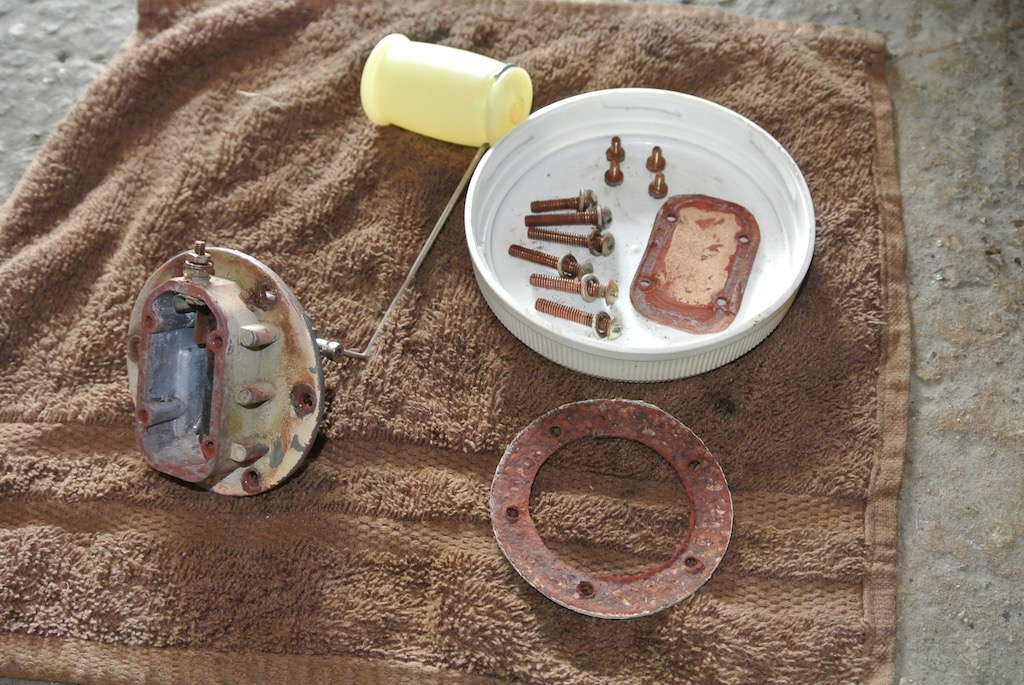 I then removed the cover plate and ordered a new circular cork gasket from the Octagon Club. You can't buy the gasket under the cover plate, so I used the plate as a template and cut one from a sheet of gasket paper. I found that sharpening the end of a brass tube using a countersink bit made a good tool for cutting holes in the paper gasket.
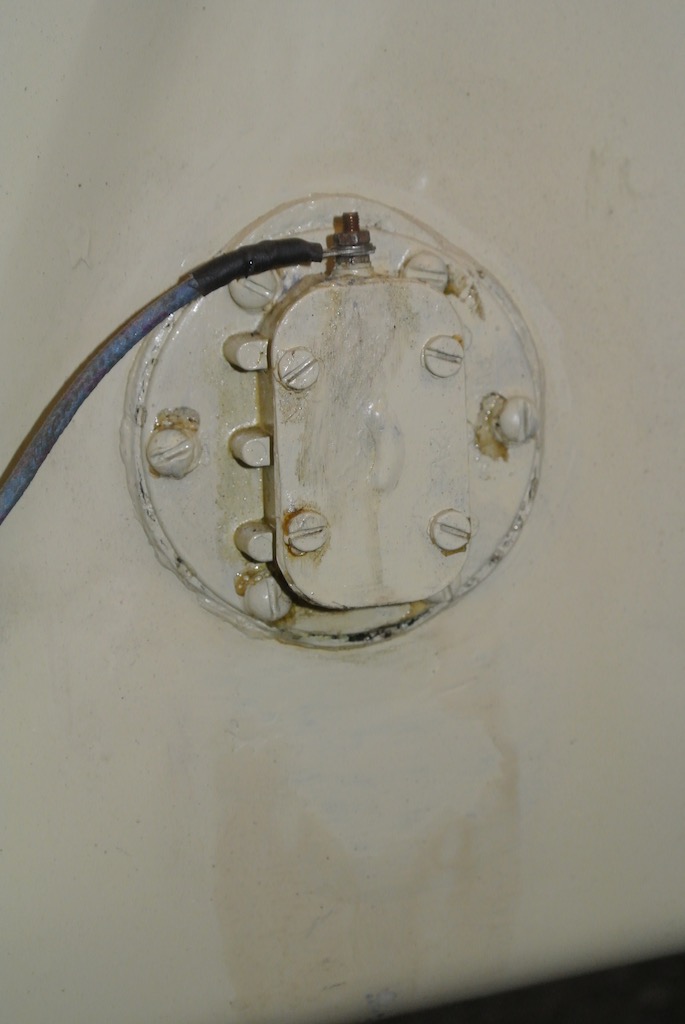
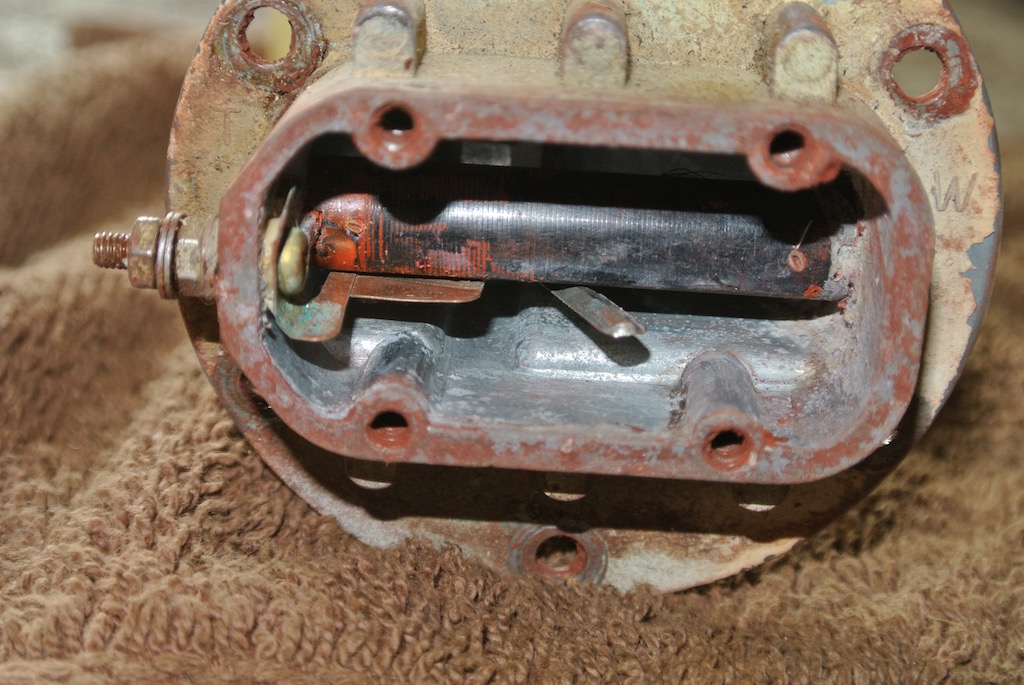 Having cleaned up the surfaces with wire wool I cleaned off as much paint as possible and, with a multi-meter, checked that as the float moves so the contact inside the unit made an electrical connection. You can see in the photo that, as the float drops, the lever simply moves a copper strip until it makes contact with another piece of copper, completing the circuit and turning on the dashboard warning light. An earth connection is made through the bolts that hold the unit to the tank. The black Bakelite tube looks as though it once had a coil of wire wrapped around it so that the sender unit could provide a variable signal, rather than the on/off switch.
 The unit will fill with petrol through the lever entry point, so the cover plate gasket needs to be a good seal as well as where the unit fits into the tank. Being a hydrocarbon, petrol has no free electrons and so is an insulator. I used Hylomar Blue on each surface and on the threads of the bolts.
Having refitted the unit I put the petrol back in the tank and left it for a couple of hours to check that there were no leaks. I also checked that the warning light went out as the level increased. Then, using a small brush, I painted the unit and the area of tank below the unit with one coat of grey primer and two coats of colour from the tin that came with the car.
It seems that the previous owner also replaced the cork gasket between the unit and the tank. I just have to hope that the Blue Hylomar, which does not set and is fuel resistant, will help maintain the seal.
May 2018 Update
 As you can see from the photo, after almost two years the sender unit started to leak again. Fuel is actually seeping from the bolts that hold the unit to the tank, so I guess that I didn't put enough Blue Hylomar around the bolt threads. To take this photo I had already removed the spare wheel carrier.
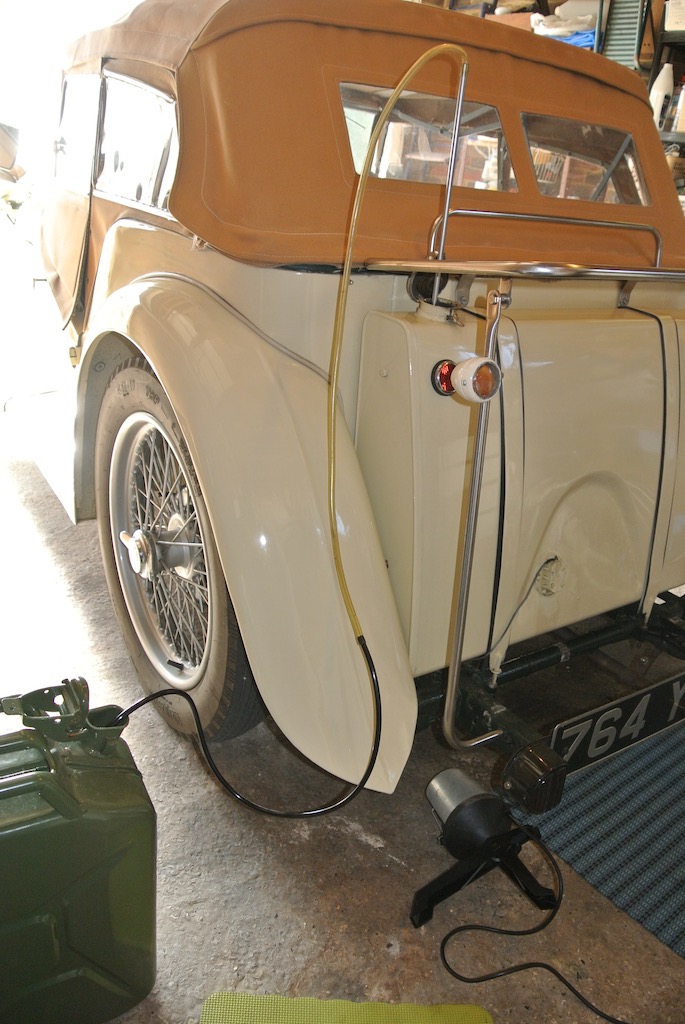 To drain the tank I used a length of old gas pipe to which I attached some transparent tubing (so that I could see the petrol come over the top while I sucked) and another piece of tubing to get near the bottom of the jerry can.
This time I decided to paint the unit and the cover plate separately, before assembly, so I cleaned them with wire wool and de-greaser, gave them a coat of grey primer and then two coats of cellulose. Again I cut a cover plate gasket from gasket paper, but this time I used smaller diameter brass tube to cut the bolt holes in the hope that this would help make a better seal. However, when trying to assemble the unit, with a good coating of Blue Hylomar around the edge of the cover plate, both sides of the gasket, surface of the unit and the bolt threads, I got the gasket sealant everywhere. It doesn't wipe off, just spreads and remains 'sticky'. After experimenting with various solvents I discovered that methylated spirits work; unfortunately too well since, it also removed the paint! So I had to carefully repaint parts of the unit and cover plate.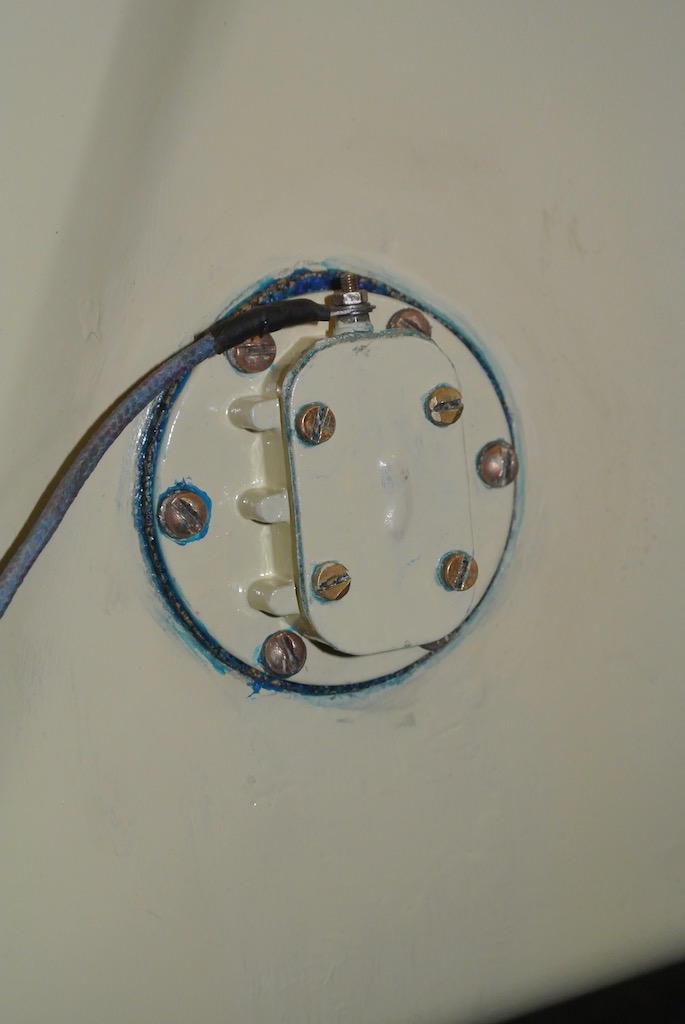
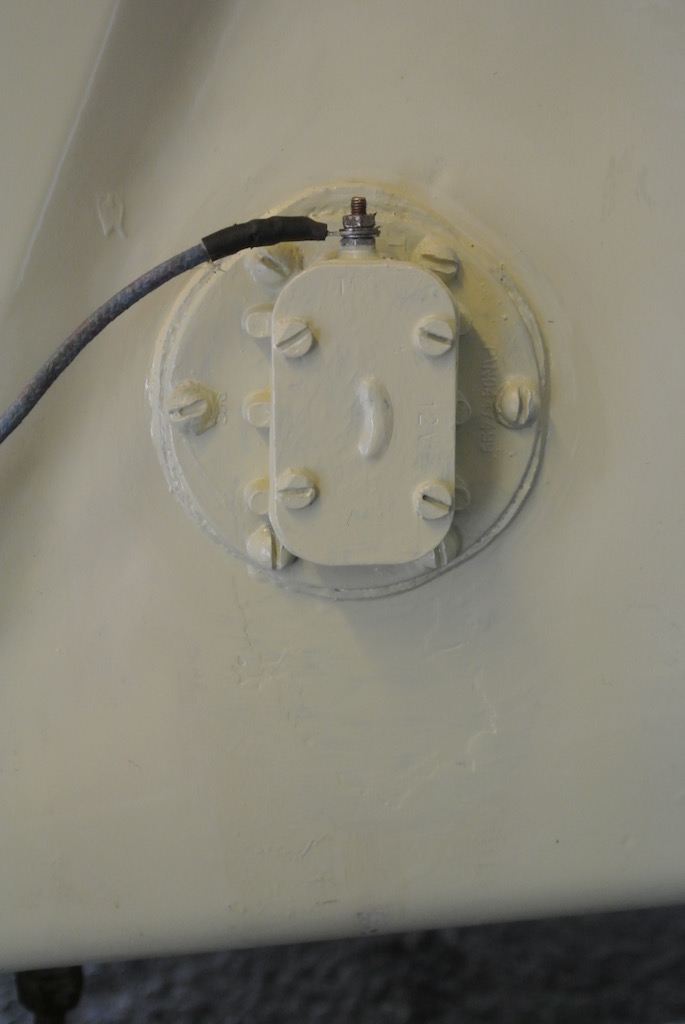
I had already bought a new cork gasket from the Octagon Club, so again I struggled with the gasket sealant, being just a little more careful this time. As you can see from the final photo, the result is not particularly neat. You will also notice that I decided to leave the brass bolt heads unpainted so that if I need to remove the unit again I might not need to repaint it.
© David James 2018 Last updated: 29th May 2018